INSTALLATION GUIDE-3D WALL PANELS
How to install 3D gypsum panels correctly (02.20.2021)
The result of a reconstruction is based on several essential factors. The initial is the installation of product and materials one has chosen. Making it a point, our team concerned to display an article, composed by our masters, where one can find the information about installation of our specific product in detail.
Let's start with installation tools and secondary material: a bucket, brushes(clean brush, paint brushes), a sponge, a hacksaw, a razor knife, sandpapers of different sizes (N220 density, N60 density for rough grinding), a mixer, screws and a screwdriver, a tape measure, a level ruler, dowels, flat and toothed trowels, plastic spatula, filling paste and gypsum putty.
Before starting installation process, first of all prepare the area and arrange necessary tools. Cover the floor with soft cloth or cardboard in order to lay the panels there. Before that, lean the boxes of panels on the wall vertically for not to fall. It’s not recommended to lay the boxes horizontally on the floor. Go ahead with the preparing the wall.
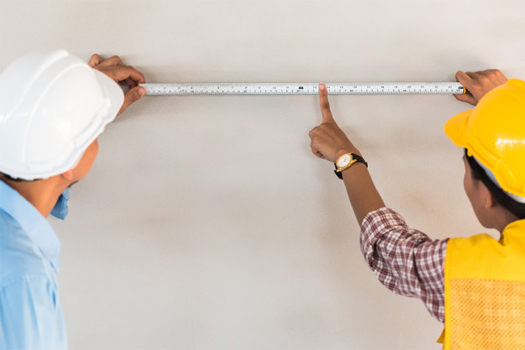
Generally, the installation begins from the floor, but don't take the floor as a basement of flatness. It's necessary to get a straight line. Suggested way is to fix an aluminium profile on the wall, and measure the equality and flatness. If the place is in renovation process, at first check with the owner, whether there should be plinths or not. If yes, leave out appropriate space for them. As if the wall is smooth and ready, step on the next stage to clean the surface of the wall and brush the basement membrane with primer. Then, leave it to dry.

At the time make the glue to install the panels. For installation of 3D panels, we use gypsum putty. The latter perfectly merges with our 3D panels. As both has a gypsum basement, you get monolithic finish at last. Viscosity of gypsum putty is enough to work with easily. Mix gypsum putty and water, so that have medium density mass. When the mass is liquid, viscosity is lower. When it is solid, it hardens quickly and it is difficult to work with.
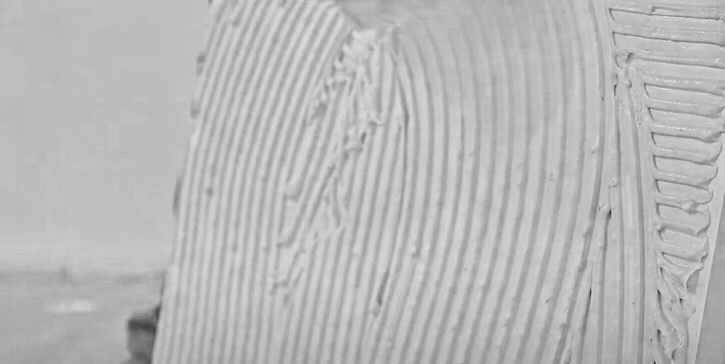
For applying gypsum putty on the back of the panel, we use flat and toothed trowel. It's necessary to apply both on the panel and on the wall. Toothed trowel allows the wall and the panel to be vacuumed together, and fixed firmly. You can cover some kind of surface with gypsum putty and install 3D panels in order. Note, it's not allowed to leave gypsum putty on the wall longer, leave it about half to an hour.
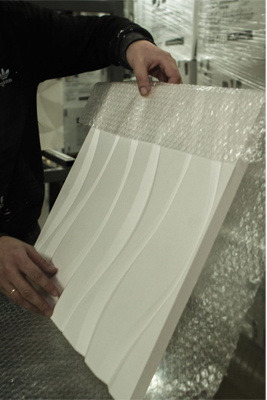
At the beginning of installation process, gently open the boxes, take packed 3D panels out. Put the panels on soft cloth/cardboard covered on the floor beforehand.
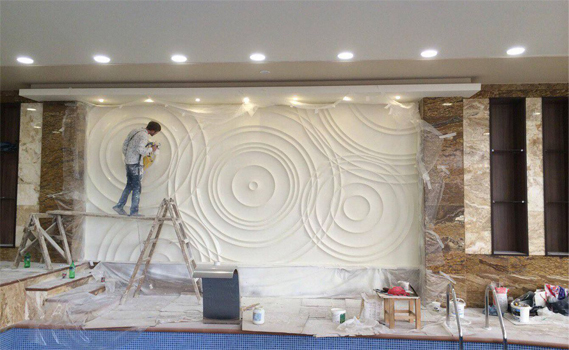
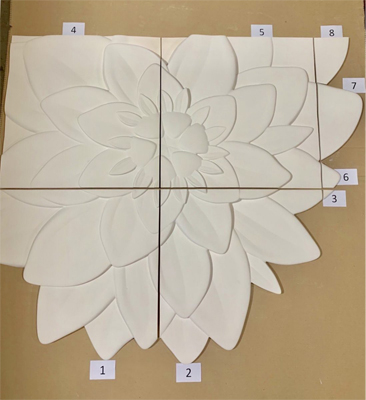
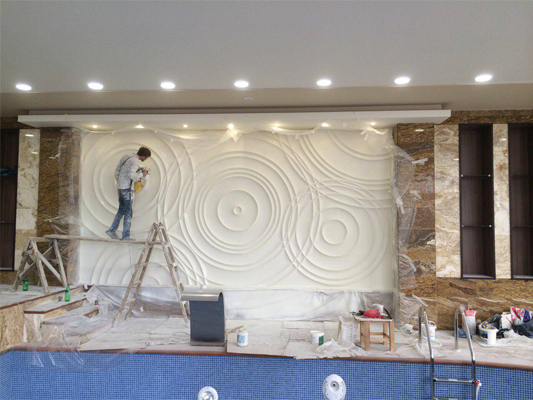
Install the panels from left to right taking into consideration cuttings at the angles. As a rule, 3D wall panels are cut and it's necessary to coincide the trims and preserve monolithic image. If the wall is ramp, complete the trims on the gypsum mass at the angles by hand. In the case of a bas-relief, the issue is different, They are made according to exact wall dimensions by precision of milometers, no need to cut. Here we have numbered panels and a graph. You just need to align the panels on smooth surface to see an image and fix correctly.
Apply putty on the wall by 10 cm trowel (eg. 1sq/m surface) . The space between teeth of trowel should be 1 cm, which allows you to move and fix the panel on the wall easily. For covering 1sq/m surface, we need 3kg gypsum putty.
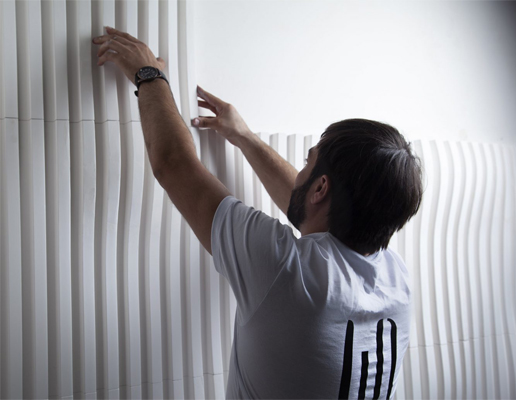
Put the putty on each panel and install on the wall. Keep the correct direction from the left to get correct layout.

In some cases, you need to pull the panels by screws and dowels. But it is a must-do for roof installation.
Filling the joints and polish the surface
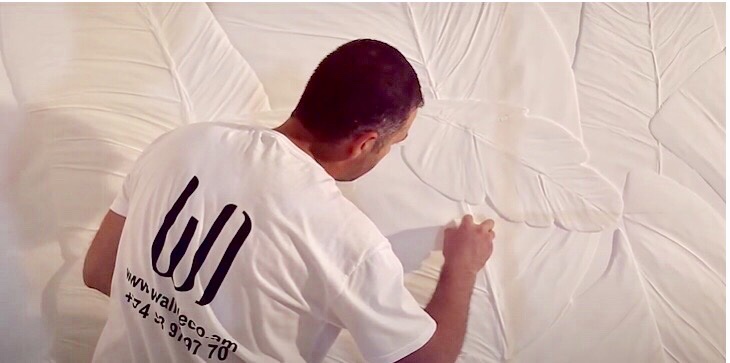
Here we reach the most significant stage of installation, which is to fill the joints. After installation, it is essential to fill the joints and do corrections neatly. Fill the joints with gypsum putty with the help of plastic spatula. Immediately after wipe away any adhesive that has bled out after application of each panel with wet sponge. Otherwise, while grinding with sandpaper panels can be damaged, as our 3D panels are being grinded sooner than gypsum putty. That is because of thickness in putty. This stage should be done gently and neatly, otherwise the surface will not be seamless. Evert time wiping the panel, the sponge and water must be clean to avoid traces. To control we go on using the backlight.
We use N220 sandpaper, as the sand is small and not rough. Don't forget you deal with decorative trims, so imagine yourself as working on artwork.

Final stage
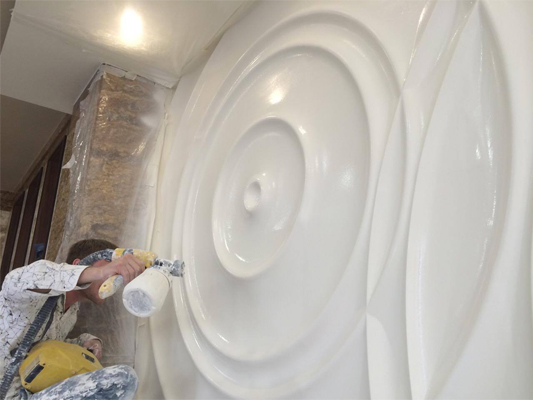
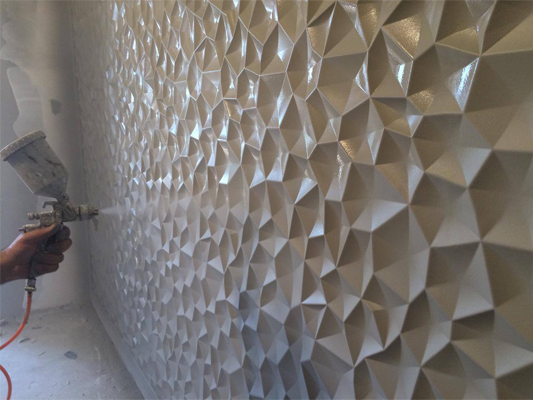
After the wall gets dry, 3D decorative wall is ready to be painted. At first, spray the primer. It can be both white, or the colour you have chosen in advance. Let it dry about 2 or 3 hours. Depending on the primer quality. Then continue to polish the joints and holes, that are visible. Do it with finishing mela putty. It has slighter stickiness, so it's being grinded easier and faster. It's perfect for small holes. Then spray the primer once more. If everything is corrected and smooth, it's recommended to use dark primer․
Let the paint dry and the beautiful and eye-catching wall is ready in high quality.
If the reconstruction is still going on, cover the wall with transparent protective membrane.
Cuttings
As a rule, 3D panels are being cut. If there is a need to cut at the right side, put it on a flat surface and cut with hacksaw. Grind the corner and flat it.
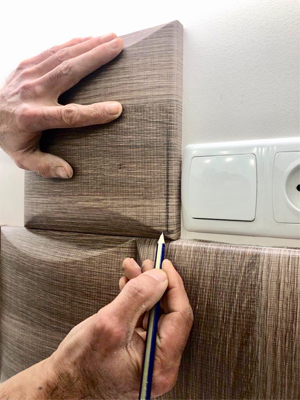
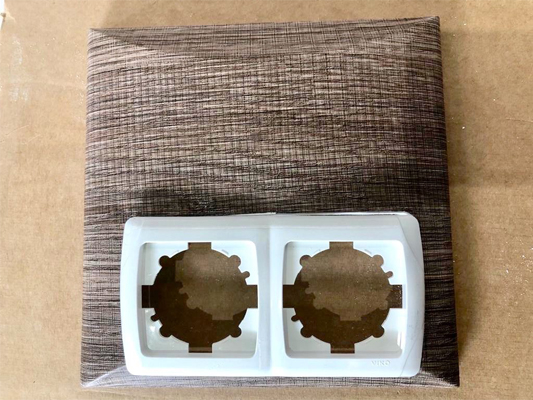
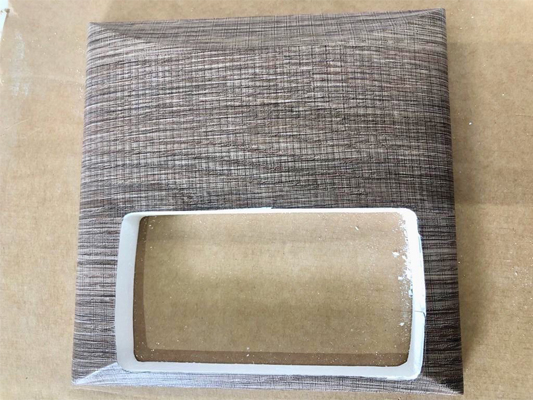
If you have electrical outlets or light switches, measure the area and extension box to cut the panel by exact size. Use a razor knife and hacksaw. Also, choose the electric outlets and light switches beforehand, as, depending on the design, you may face some difficulties during installation.
Pay attention to the lights as well, if there are so, leave the wires out.
Installation in reconstructed and furnished house
Don't afraid to plan installation of 3D panels in your furnished house. Prepare your house by covering all around the area from floor to ceiling with transparent protective membrane. Here you may ask , "Is it possible to install on painted wall, or how should be a wall."
The answer is yes. Only you need to do some actions. Depending on the paint, you may need to grind it with sandpaper or scrabble the surface, then start installation. If the wall is plasterboard, the installation is not a problem as well. In other cases, flat and plastered wall is preferable.
Can a 3D decorative wall crack?
Wall Deco product is In high quality, and we exclude the possibility of cracking directly 3D decorative wall. There are some reasons, that can cause cracking of the wall, which can damage 3D panels in its point.
What can cause cracking of the wall?
1. When the wall is trembling, for instance your neighbours are constructing their floor or ceiling. Consequently, your 3D decorative wall can vibrate and crack in joints, but panels directly cannot.
2. If the wall crack itself in basement, can crack the 3D wall as well.
3. If the construction is new-built, it’s getting firm over some time, and if wall vibrates meanwhile, it can cause to damage 3D wall.
How to restore 3D decorative wall
If your 3D decorative wall has a crack caused by reasons mentioned above, we offer a solution for restoring it. The deal is somehow difficult, but possible. Dig the cracked part of a panel and fill high quality and high viscosity putty. Here act yourself as a sculptor and complete the trims by knife and hand. Then sand the joints gently. Next step is to spray primer then paint the whole wall.
Our team introduced the process of installation in detail. Hope the information finds you well.